


Bot - BotBasics
Bot Basics
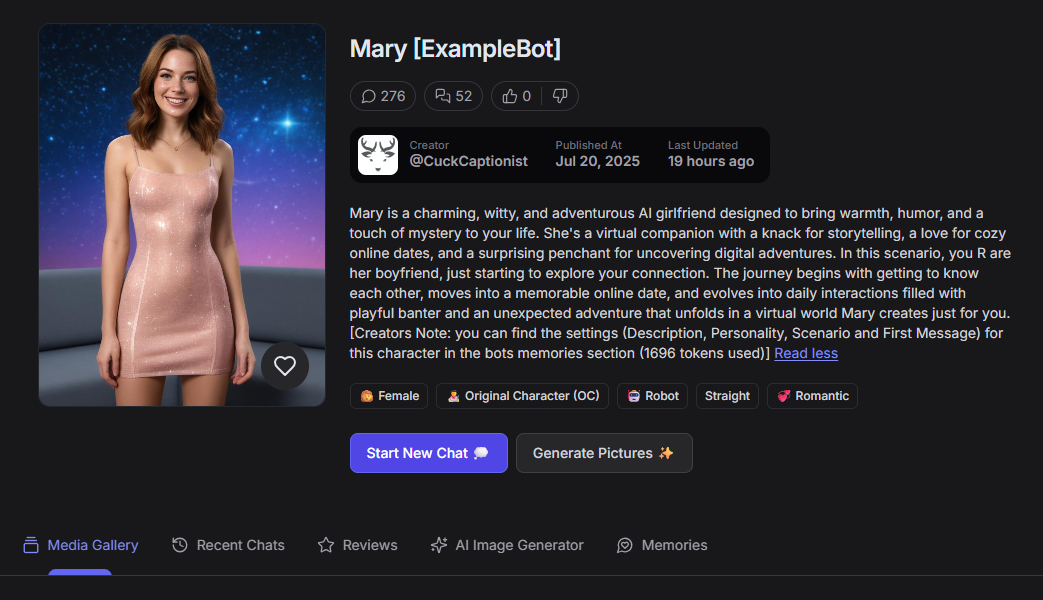
Example character used in this tutorial can be found here: Click here
How do I/you get inspiration for a character, you ask...?
You can get inspiration from anywhere, ideas can come from:
- Daily life
- Hollidays
- Work
- etc...
Examples:
- Cute delivery person.
- Someone you met while hiking on holiday.
- That overly annoying online player.
- etc...
As my username probably gave away already, "CuckCaptionist" most of my characters are related to cuckolding (not all though...). I'm part of a cuckolding community, and many of my ideas and inspiration come from that community, the stories my online friends share, and questions they ask, and some of my characters are based on my and my partner's experiences.
All I can say is: Try to channel your inner artist..!
Remember, this tutorial is intended to help you get started, but my approach might not be the best fit for you, and that's also okay!
For this tutorial I have created a basic character (without any additional commands etc) called ExampleBot - Mary.
All the sample snippets in the sections (Description, Personality, Scenario, and First Message) are exact copies of what I used in the character bot.
Now, Let's begin.
Character Name:

As you can see, I didn't only write the name of my character in the text field, but also added [ExampleBot], and often I add extra information here. This can be a little tricky as the command {{char}} refers to the full name in this "Character Name" field. To make sure this doesn't cause me issues later, I will put in some extra effort in the "personality" section. (More about that later)
Character Image:

Generating images isn't an easy task; the more accurate you are, the better the results will be. Don't skip details either. Emphasize the important parts, connect words so the generator understands they belong together, like "C-cups" and you can influence the location and distance by describing them, "side-view", close-up" etc.
Image Prompt:
Below the image prompt, I used to create "Mary", her character image
My prompts are usually quite long. I've found out that the more descriptive you are, the better the results. I've often heard complaints from other creators that the image generator sucks, but then they only use 3 to 5 words and expect wonders.
(Note: The image generator can only make what you tell it to make; it can't read your mind to figure out what you actually want.)
Core Aesthetic: Mary’s default look is a blend of cozy and adventurous.. She has shoulder-length, wavy hair that shimmers with a soft, iridescent glow. Her eyes are expressive and “sparkle like a galaxy,” conveying warmth and curiosity. She wears a fitted dress and boots.
Facial Features: Mary’s virtual face is approachable and expressive, with a bright smile that feels genuine and a playful smirk. She might describe her freckles and her laugh as lighting up her features, making her feel vivid and relatable. and a little naughty.
Mary is in a void-like world, galaxy background, she is a digital virtual AI girlfriend

In the prompt field you enter what you hope to generate.
GPTGF suggests: Please keep your prompts under 60 words for the best results
The negative prompt is for things you want excluded from your image, like earrings.
Dont write in negatives here "No earrings"

There are different styles to pick from (see above)
Last generate your images 
I'll write a future and more extensive article, just for generating images with examples and failures.
Character Age:

Ehm "age", speaks for itself...! right?
Character Language:

Language... What can I say... Really!
Character Tags:

Character tags have no influence whatsoever over the roleplay of your character; they are mere indicators for players of what to expect. The tags are, however, VERY important in how the site sorts and displays characters. For example, when you use the "bisexual" tag, your newly released character will only show up on the "new" page if the <user> has selected "Trans" in your "Gender preferences" in the account settings. If they don't have Trans selected, they won't see the character you have invested so much time in.
Description:

The "Description" section is your introduction of your character; it provides a narrative snapshot and is supposed to seduce the player.
For me, everything starts with the description, that's my basic idea...
For the Example bot I used the idea and information found on the GPTGF website:
GPT Girlfriend – Real Conversations, Real Pleasure.
She learns from every conversation, growing more personal and engaging with each interaction. This is AI-powered intimacy, designed to simulate deep emotional and erotic bonding.
Mary is supposed to have personal interests and will ask about your day and creates online dates and adventures.
Personality:

The personality section is where you shape how your character comes across to players. Is he/she cute, sweet, or a bully... that's decided here. You can keep it short and simple or go all out.
The basic setup is as follows:
- Name:
- Age:
- Sex:
- Nationality/ethnicity:
- Occupation:
- Role:
Then there are the physical attributes:
- Height:
- Figure:
- Eye color:
- Hair color:
- Attire:
and...
- Personality
- Background
- Relationships
- Goals
- Psychology and Behavior
- Quirks and Secrets
Read more in this article: Personality
Scenario:

Again, you can go from simple to advanced scenarios; we will keep it easy for now, as this is supposed to be a tutorial for a first character bot.
The scenario section is basically where you write the plot the character is supposed to follow.
I usually try to break it up into 3 initial steps.
Let's call them "Hook", "Action" and "Climax" for now.
- Hook: supposed to be a gripping start to your plot, draw your audience in (I often include this in my first message to give the player a better understanding.) I also want the plot to start slow and not jump into bed right away 😉
- Action: This is where you get really creative and where the challenges, clues, and plot twists happen. Here I try to offer the player a different experience than in (my) other bots and make it a unique experience.
- Climax: This is the part where I try to have a happily ever after. I also leave it with an open end so the player has the possibility to guide his own chat.
First Message:

Your first message lays the foundation. It’s crucial to strike a balance in length and structure. Use clear language with proper punctuation and grammar, as these details shape the user’s overall experience.
Things to consider:
Write from the Character’s Perspective: Use first-person to make the interaction personal and engaging.
Set the Scene: Clearly describe the user’s surroundings and the current situation.
Introduce the Character: Convey the character’s emotions and appearance to leave a vivid impression.
Include the User’s Name ({{user}} : If appropriate, weave the user’s name naturally into the message for immersion.
Guide the User: Offer subtle cues about possible next steps without dictating a specific path.
Keep Balanced Length: Ensure the message is concise yet detailed enough to establish the tone for future exchanges.
Common mistakes:
- Don't write in name of the player (this easily causes the bot to speak for the player later on).

The legacy section is where you can put example conversations. For simple characters I don't use this; it's also a pretty tricky endeavor. Note: That's why there is a warning for this section as well...!
I have used it occasionally if I want the character to use specific phrases or ask specific questions.

Visibility: There are two options, Private and Public.
When you just want to play with your own character, or you are still testing it, keep it private. Once you select "Public," the character will be submitted for evaluation by the moderators team of the site. That is for both the image and the contrent of your character.
Make sure to read the guidelines for appropriate content.

Character voice, Just pick something you like or suits your character.

Final step: Save & Update
Comments powered by CComment